
2017 - progress
2017 - progress
2017, february 17th
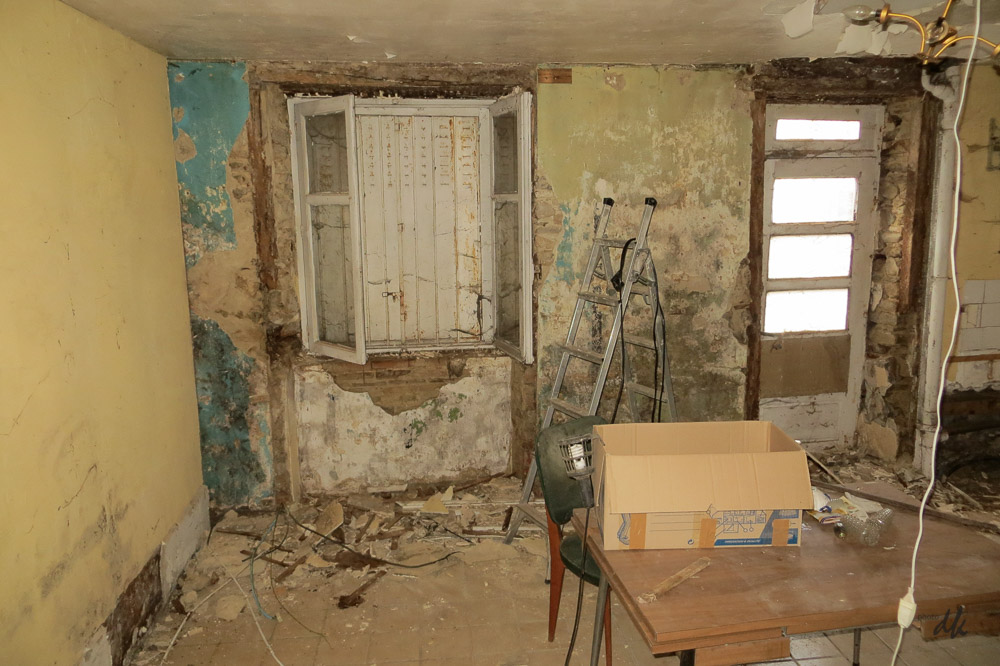
Not posted progress on this for a while - mainly 'cos there hasnt been much. However, the fine weather (it made 16° here today) motivated me to attack more of the demolition on the ground floor. The old stone walls have no DPC of course, and part of the house ground floor is below ground level at the back, so of course the walls are damp. Previous owners had fitted a sort of dry liner, but they had done it by putting wooden battens straignt onto the stone and then fitting a sort of peg board (mdf with holes in it) and plastering over it. Of course it soaked up the water and rotted. Horrible !
Job no 1 is therefore to get rid of all that, so much demolition work and loading of rubbish straight onto the trailer in the road outside (the front door opens straight onto the pavement). Really could not face that in pouring rain, so have been putting it off, and today with nice sunshine was the day to attack it.

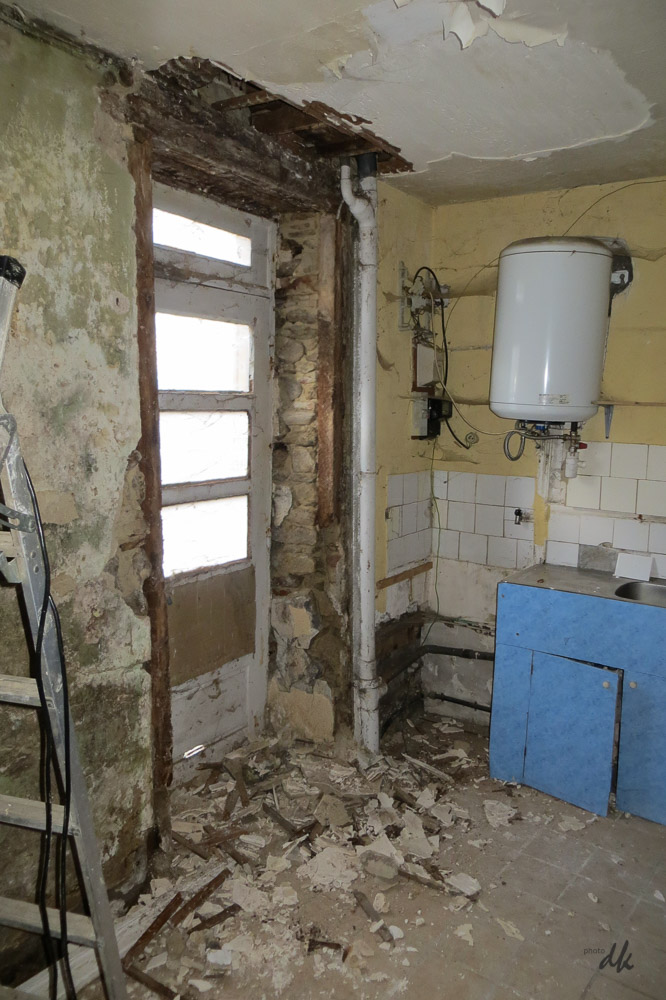 Here's what it looked like at the start of today :
")
Two big trailer loads shifted and more broken out, but too much dust to risk my camera tonight, next pictures in 24hrs or so when the dust has settled !
2017, february 18th
Got around to taking some photos this morning, having finally removed the last of the disasterous wooden "dry" lining that was all rotten. These are the last few bits before loading to the trailer.
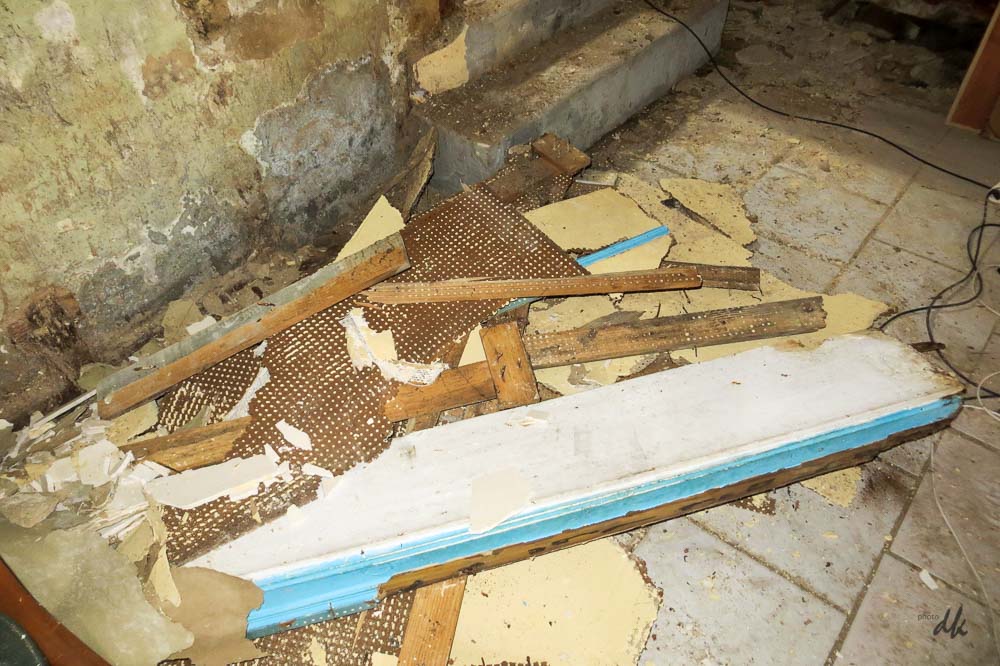
Imagine my surprise to find the old plaster still sort of intact and painted like this :
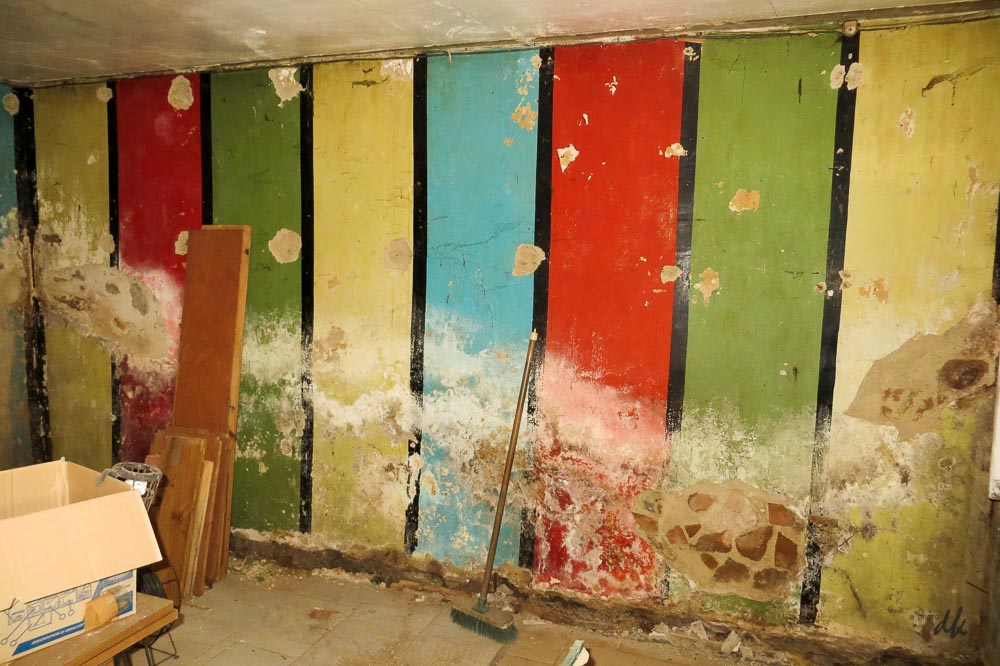
Some debris to remove from the base of the walls then I can start thinking about cleaning up. There is wet rot, but absolutely no sign of dry rot (miracle ?) however I think I'll treat for it just to be on the safe side. As well as spraying I'm told it is wise to run a blow lamp over the plaster to kill off any remaining spores etc.
2017, november 28th
Well, I did say a VERY long term project !! For several reasons I wont go into it's been several months since I made progress on the restoration.
However, this last couple of weeks I've been able to get on with it again and I've almost finished the new staircase. Why a new staircase ? Cos the old one was badly sited and totally clapped out. Why now ? Because I want to remove the old one so I can demolish an internal wall that it's fixed to and still access both floors.
")
Construction quite basic, stringers (3 for rigidity) in basic construction timber, risers and treads in pine T&G floor boarding. 9 steps to a half landing, then 5 steps at 90° to the first floor level.
The underside will be inside an understair cupboard eventually.
Next step is to cover the steps with robust polythene or perhaps cardboard to give them a bit of protection during the next phase of demolition and rebuilding. I agonised about doing this now when there is still lots of rough work to do, but the old stair had to come out next and I could not face working for months with only a ladder for access between floors.
")
")
Because of the age of the building, the original joists were simply BIG oak tree trunks, roughly squared with an adze. Massively strong, but not very regular and so the last person to do any major work on the place added sawn boards fixed to the sides of the "joists" to provide a level surface for the floors and ceilings. Cutting some of these out to make space for the stair was exciting to say the least as the chainsaw does not really appreciate cutting 6" nails...!